Workflows use case - abandoned cart
Note: This topic reviews a common use case for encouraging users to finish their purchase after abandoning their cart. To learn how to build your first workflow, see Creating a new workflow.
In this topic:
- Setting up the workflow
- Editing the re-entry limit
- Building the workflow actions
- Reviewing and activating the workflow
Setting up the workflow
Before you begin, make sure you have set up your app groups and global events. For more information, see App groups and Global events.
To set up a workflow in Localytics:
-
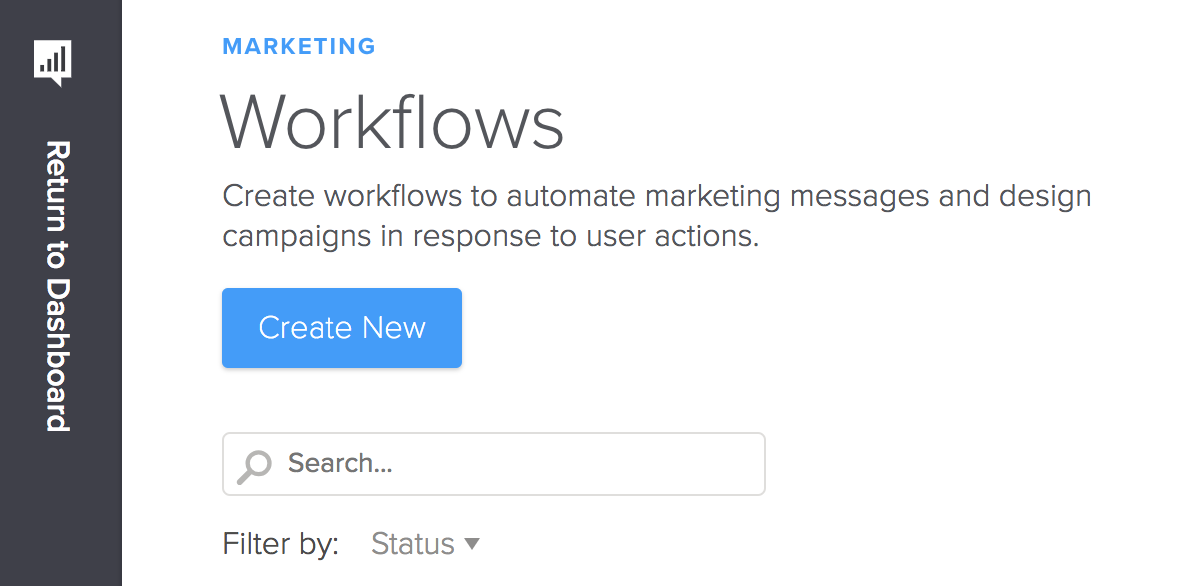
Go to Marketing in the left pane and select Workflows.
-
Select the blue Create New button.
-
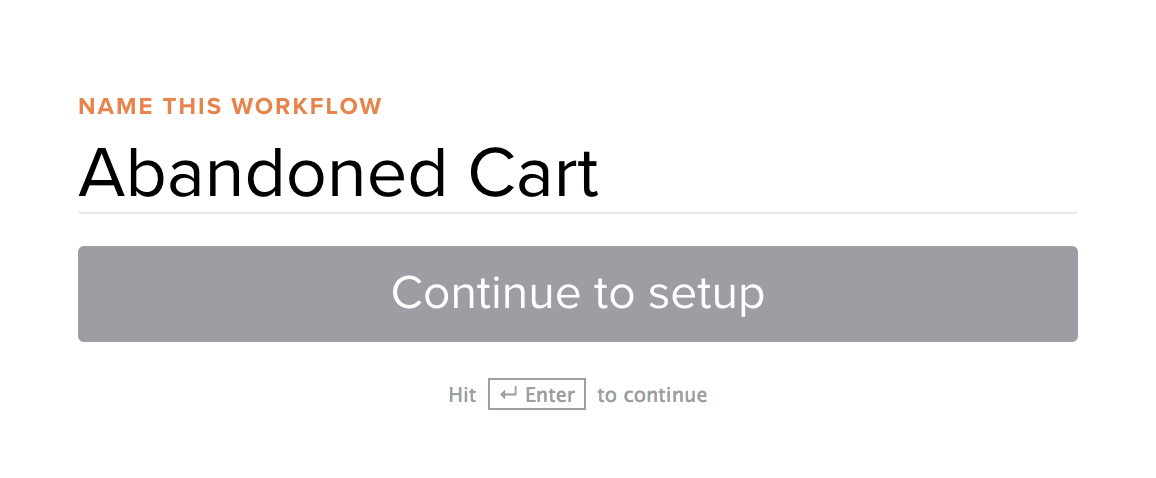
Fill in a name for your Workflow, and then select Continue to setup.
-
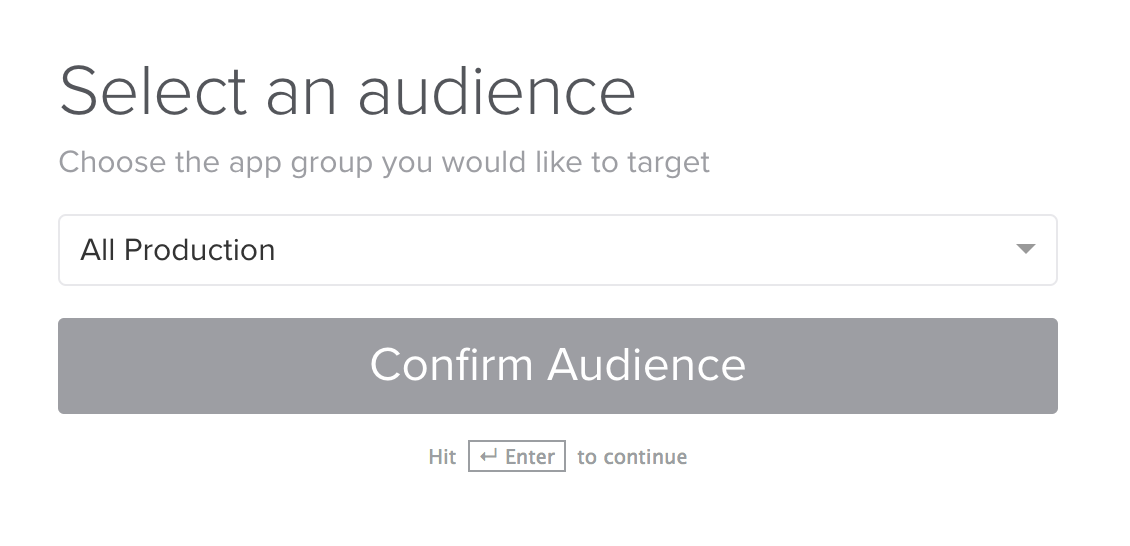
Select the app group you'd like to target from the drop-down list, and then select Confirm Audience.
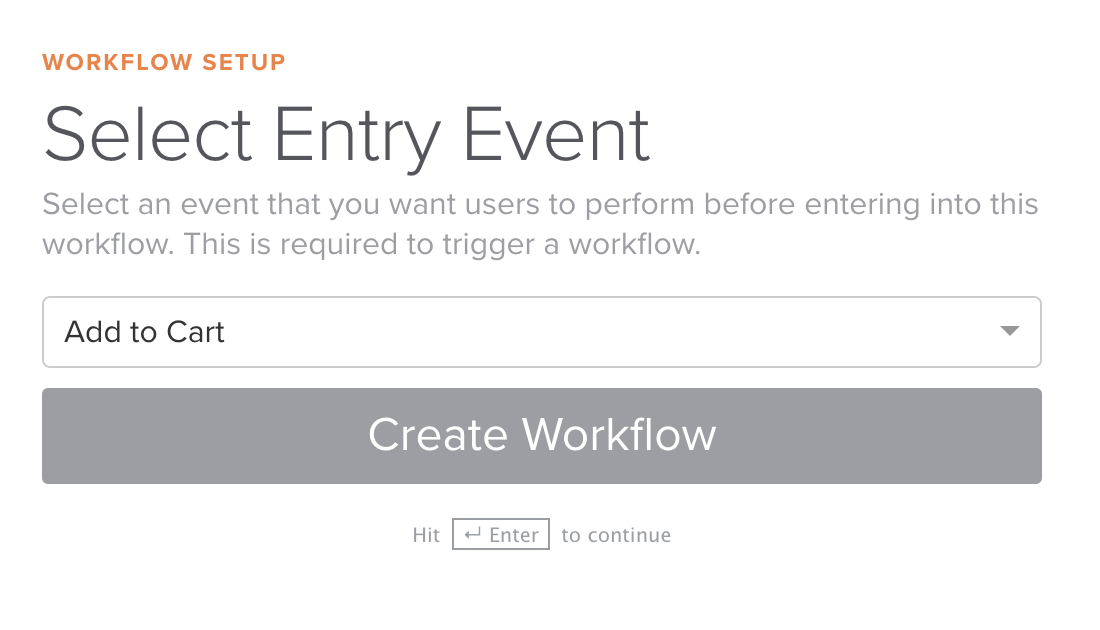
- Identify the entry event in your app that is the equivalent of "added item to cart." This will qualify all users who have added an item to their cart. (In the next step we'll begin segmenting out users who did check out vs. did not.)
- Select the entry event from the drop-down list.
- When you are done, select Create Workflow. You are ready to begin building!
Editing the re-entry limit
Before we dive into event listeners or push messages, you'll want to configure re-entry for your workflow. Since this is a workflow that can be entered more than once (as opposed to an onboarding workflow), you'll want to configure your workflow to specify a re-entry limit.
To edit the re-entry limit:
-
Navigate to the entry event in the workflow.
-
Scroll down to the How often can a user enter this workflow? section.
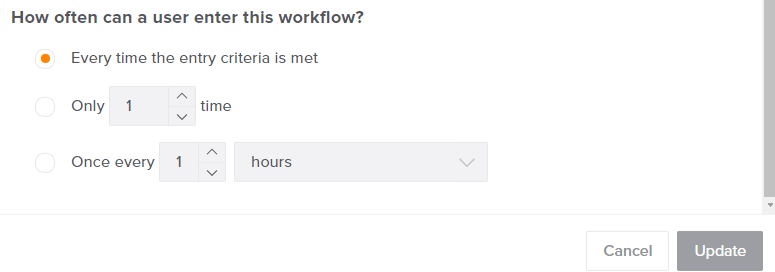
- To edit the re-entry limit:
- Select Every time the entry criteria is met.
- In the Only field, select the number of times a user can enter the workflow.
- In the Once every field, select a number and then select Hours or Days from the drop-down list.
- When you are done, select Update.
Note: We'll only re-enter users after they've completed the workflow—so you don't need to worry about over messaging users. In other words, a user won't be messaged every time they add an item to cart within the same session.
Building the workflow actions
Now the workflow is set up, you can use the Workflow Builder to add actions and events.
To open the Workflow Builder:
- Go to Marketing in the left pane and select Workflows.
-
Select your workflow from the Workflow table.
You are ready to start adding the following actions and events for this use case :
- Add an event listener – Checkout
- Add a message - Items left in cart
- Add an event listener - Checked out
- Add a message - Items left in cart 2
- Add a message – Thank you
When you are done, you will activate the workflow.
Adding an event listener - Checkout
The first action you'll want to add to your abandoned cart workflow is an event listener.
- Select the
 button.
 -
Select Add event listener.
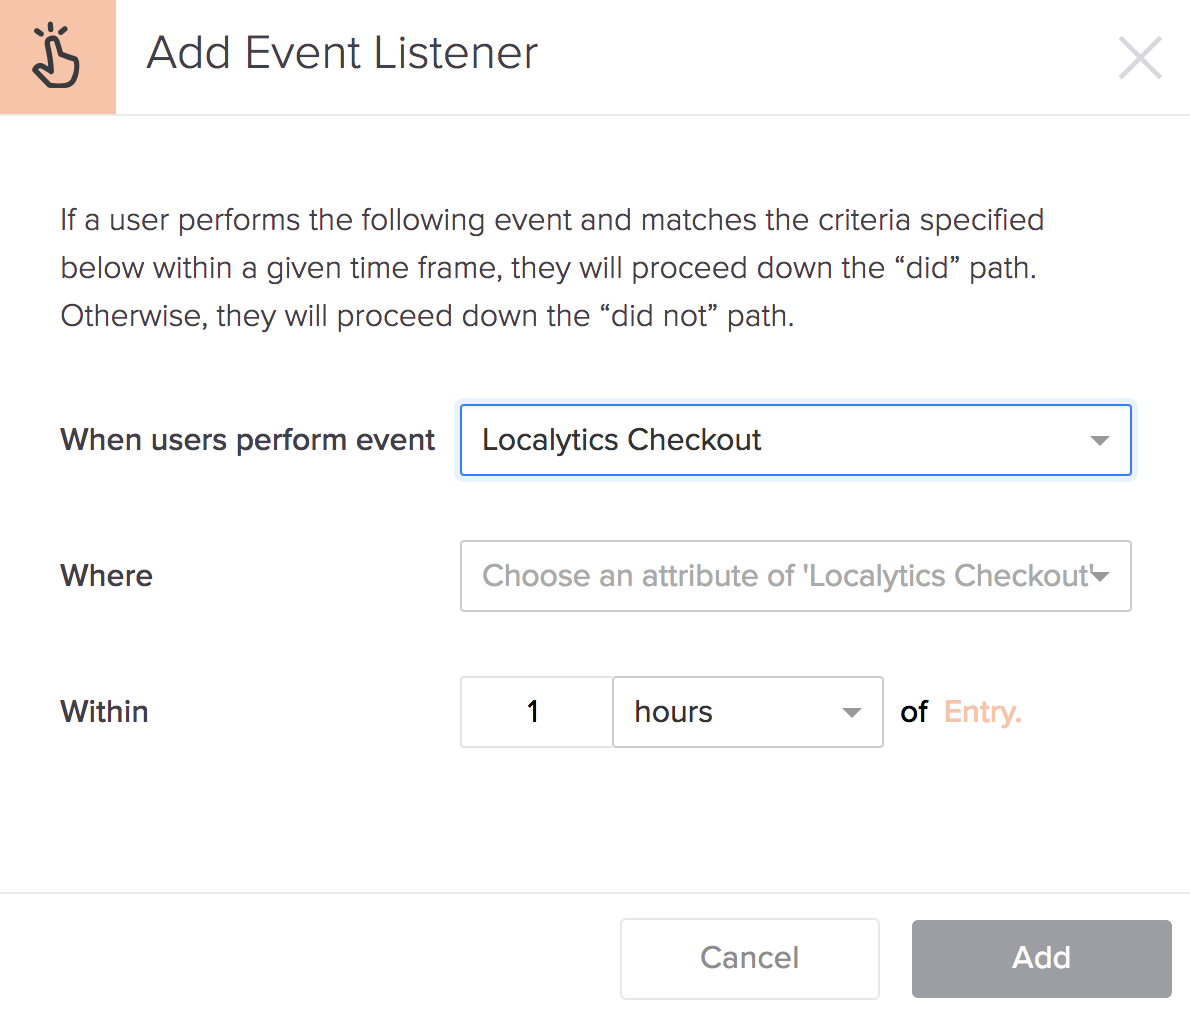
-
Select the checkout event from the drop-down list. In this use case, the event is "Localytics Checkout."
-
Specify the amount of time you want to wait for the user to complete the Checkout: X hours or days, where X is a number.
Note: The shortest amount of time you can listen for an event is one hour.
If you're unsure where to start, we recommend waiting an hour. You can always adjust this number in the future.
-
When you are done, select Add.
The event listener is added to the workflow, with two new paths branching out from it: Did and Did Not.
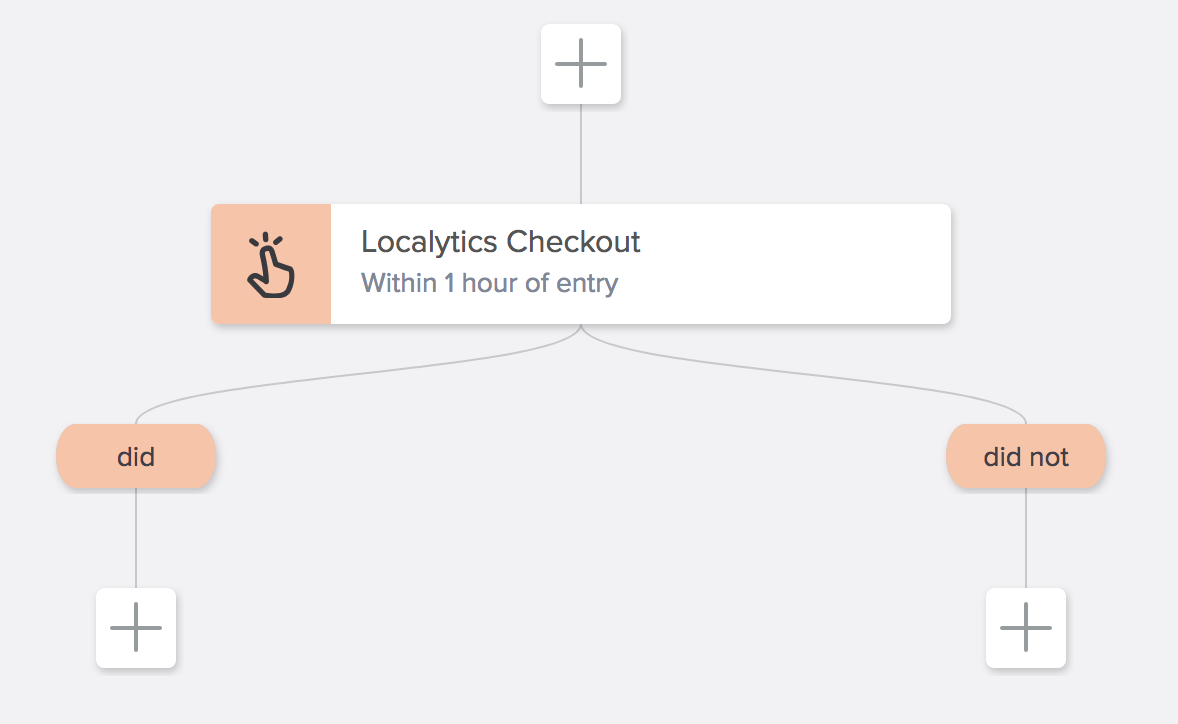
After a user adds an item to their cart, the event listener will listen for up to an hour for the checkout event:
- If the user checks out within the one-hour window, they will head down the Did path for the workflow.
- If the user does not check out in that window, they'll head down the Did not path.
Adding a message - Items left in cart
If a user does not check out within the one-hour window, give them a little nudge with a push notification to remind them about the items left in their cart.
- Under the Did Not path, select the
 button.
 - Select Send push message.
- Enter a description name for the message, for example, Reminder Message #1.
-
Build your message, adding the following:
- title (optional)
- body
- rich media (optional)
- deep link (optional)
-
key/value pairs (optional)
For our message, here's what we built.
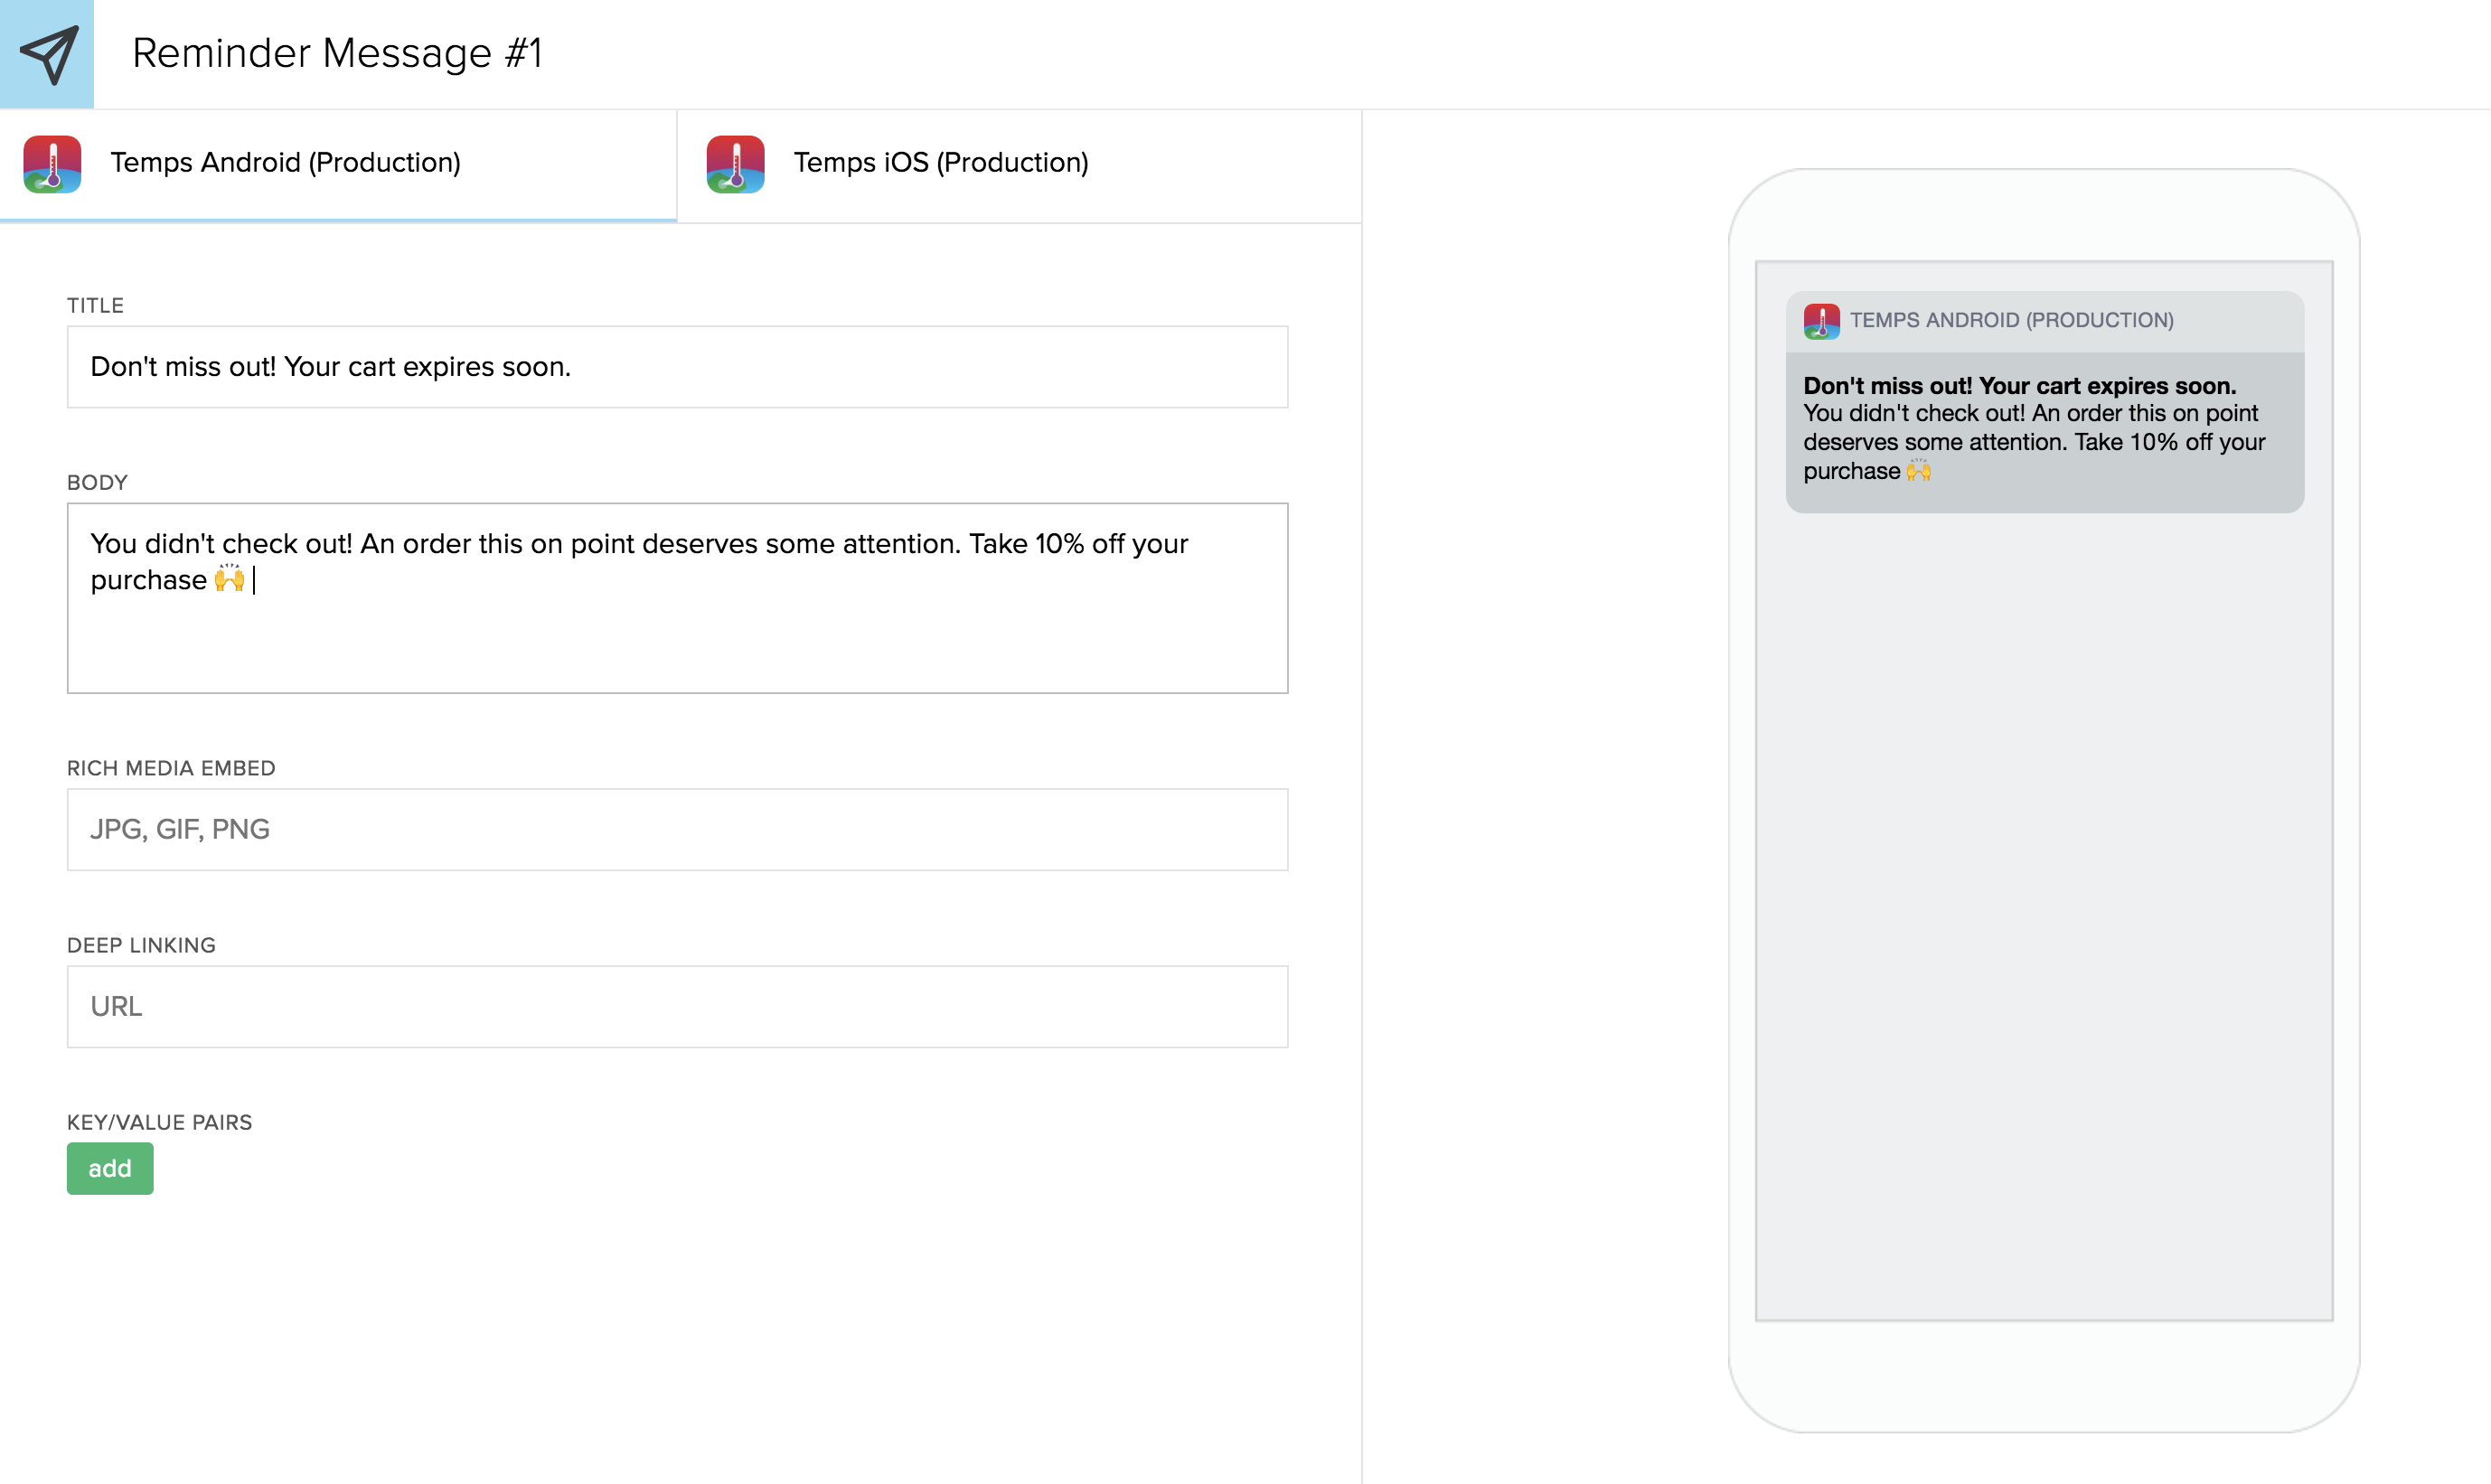
Note: If you're working with different builds for your apps (iOS vs. Android), we'll copy over the push title and the body between each creation tab. Since things like rich media, deep links, and key/value pairs differ in how they're processed for each app, you'll want to make sure you build these in each app tab.
When you have finished crafting messages for all of your apps, you are ready to add the push message to your workflow.
-
When you are done, select Add.
Tip: Don't see the Add button? It's below the phone preview—you might need to scroll to access it.
The push message is added to the Did Not path. Now, users who don't check out immediately will get this reminder message.
Adding an event listener - Checked out
You've built your workflow so that you send a push message to users who abandon their cart. Now it's time to add an event listener to see if they do what you suggested.
- In the Did Not path, select the
 button under the push message you just added.
 -
Select Add event listener.
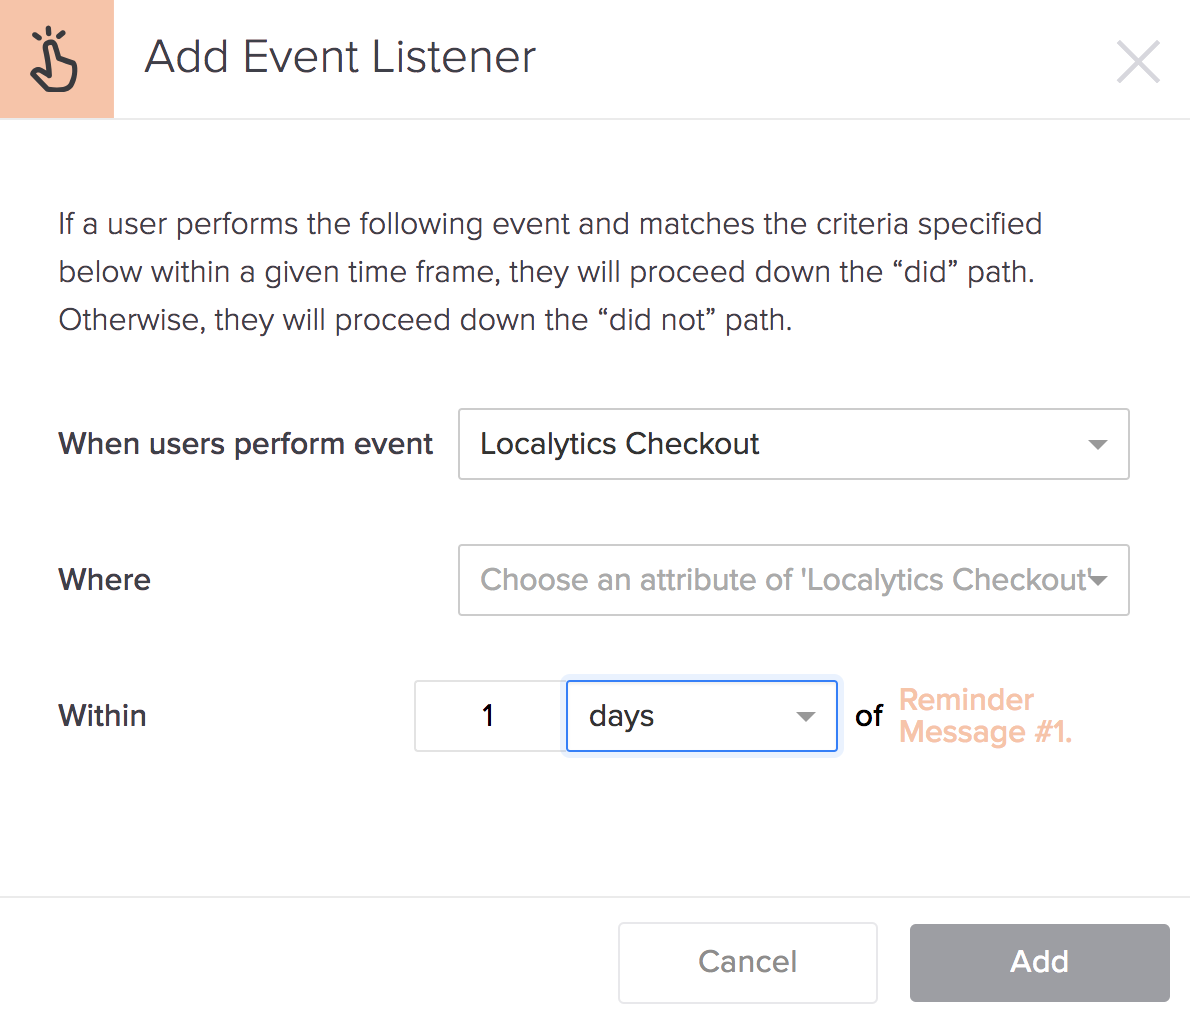
- Select the same checkout event you selected at the start of the workflow from the drop-down list. In this use case, the event is "Localytics Checkout."
- Specify the amount of time you want to wait for the user to complete the checkout. If you are not sure, we recommend waiting one day.
- When you are done, select Add.
The event listener is added to the workflow, with two new Did and Did Not. paths branching out from it.
The event listener will listen for a checkout event for 24 hours:
- If the user does not check out with the 24 hour period, we'll send them one more push message to urge them to take action.
- If the user does check out, we'll send them a thank you message.
Adding a message - Items left in cart 2
To add a message for users who do not check out within 24 hours:
- In the second Did Not path (after the push message reminding them to check out), select the
 button.
 -
Select Send push message.
-
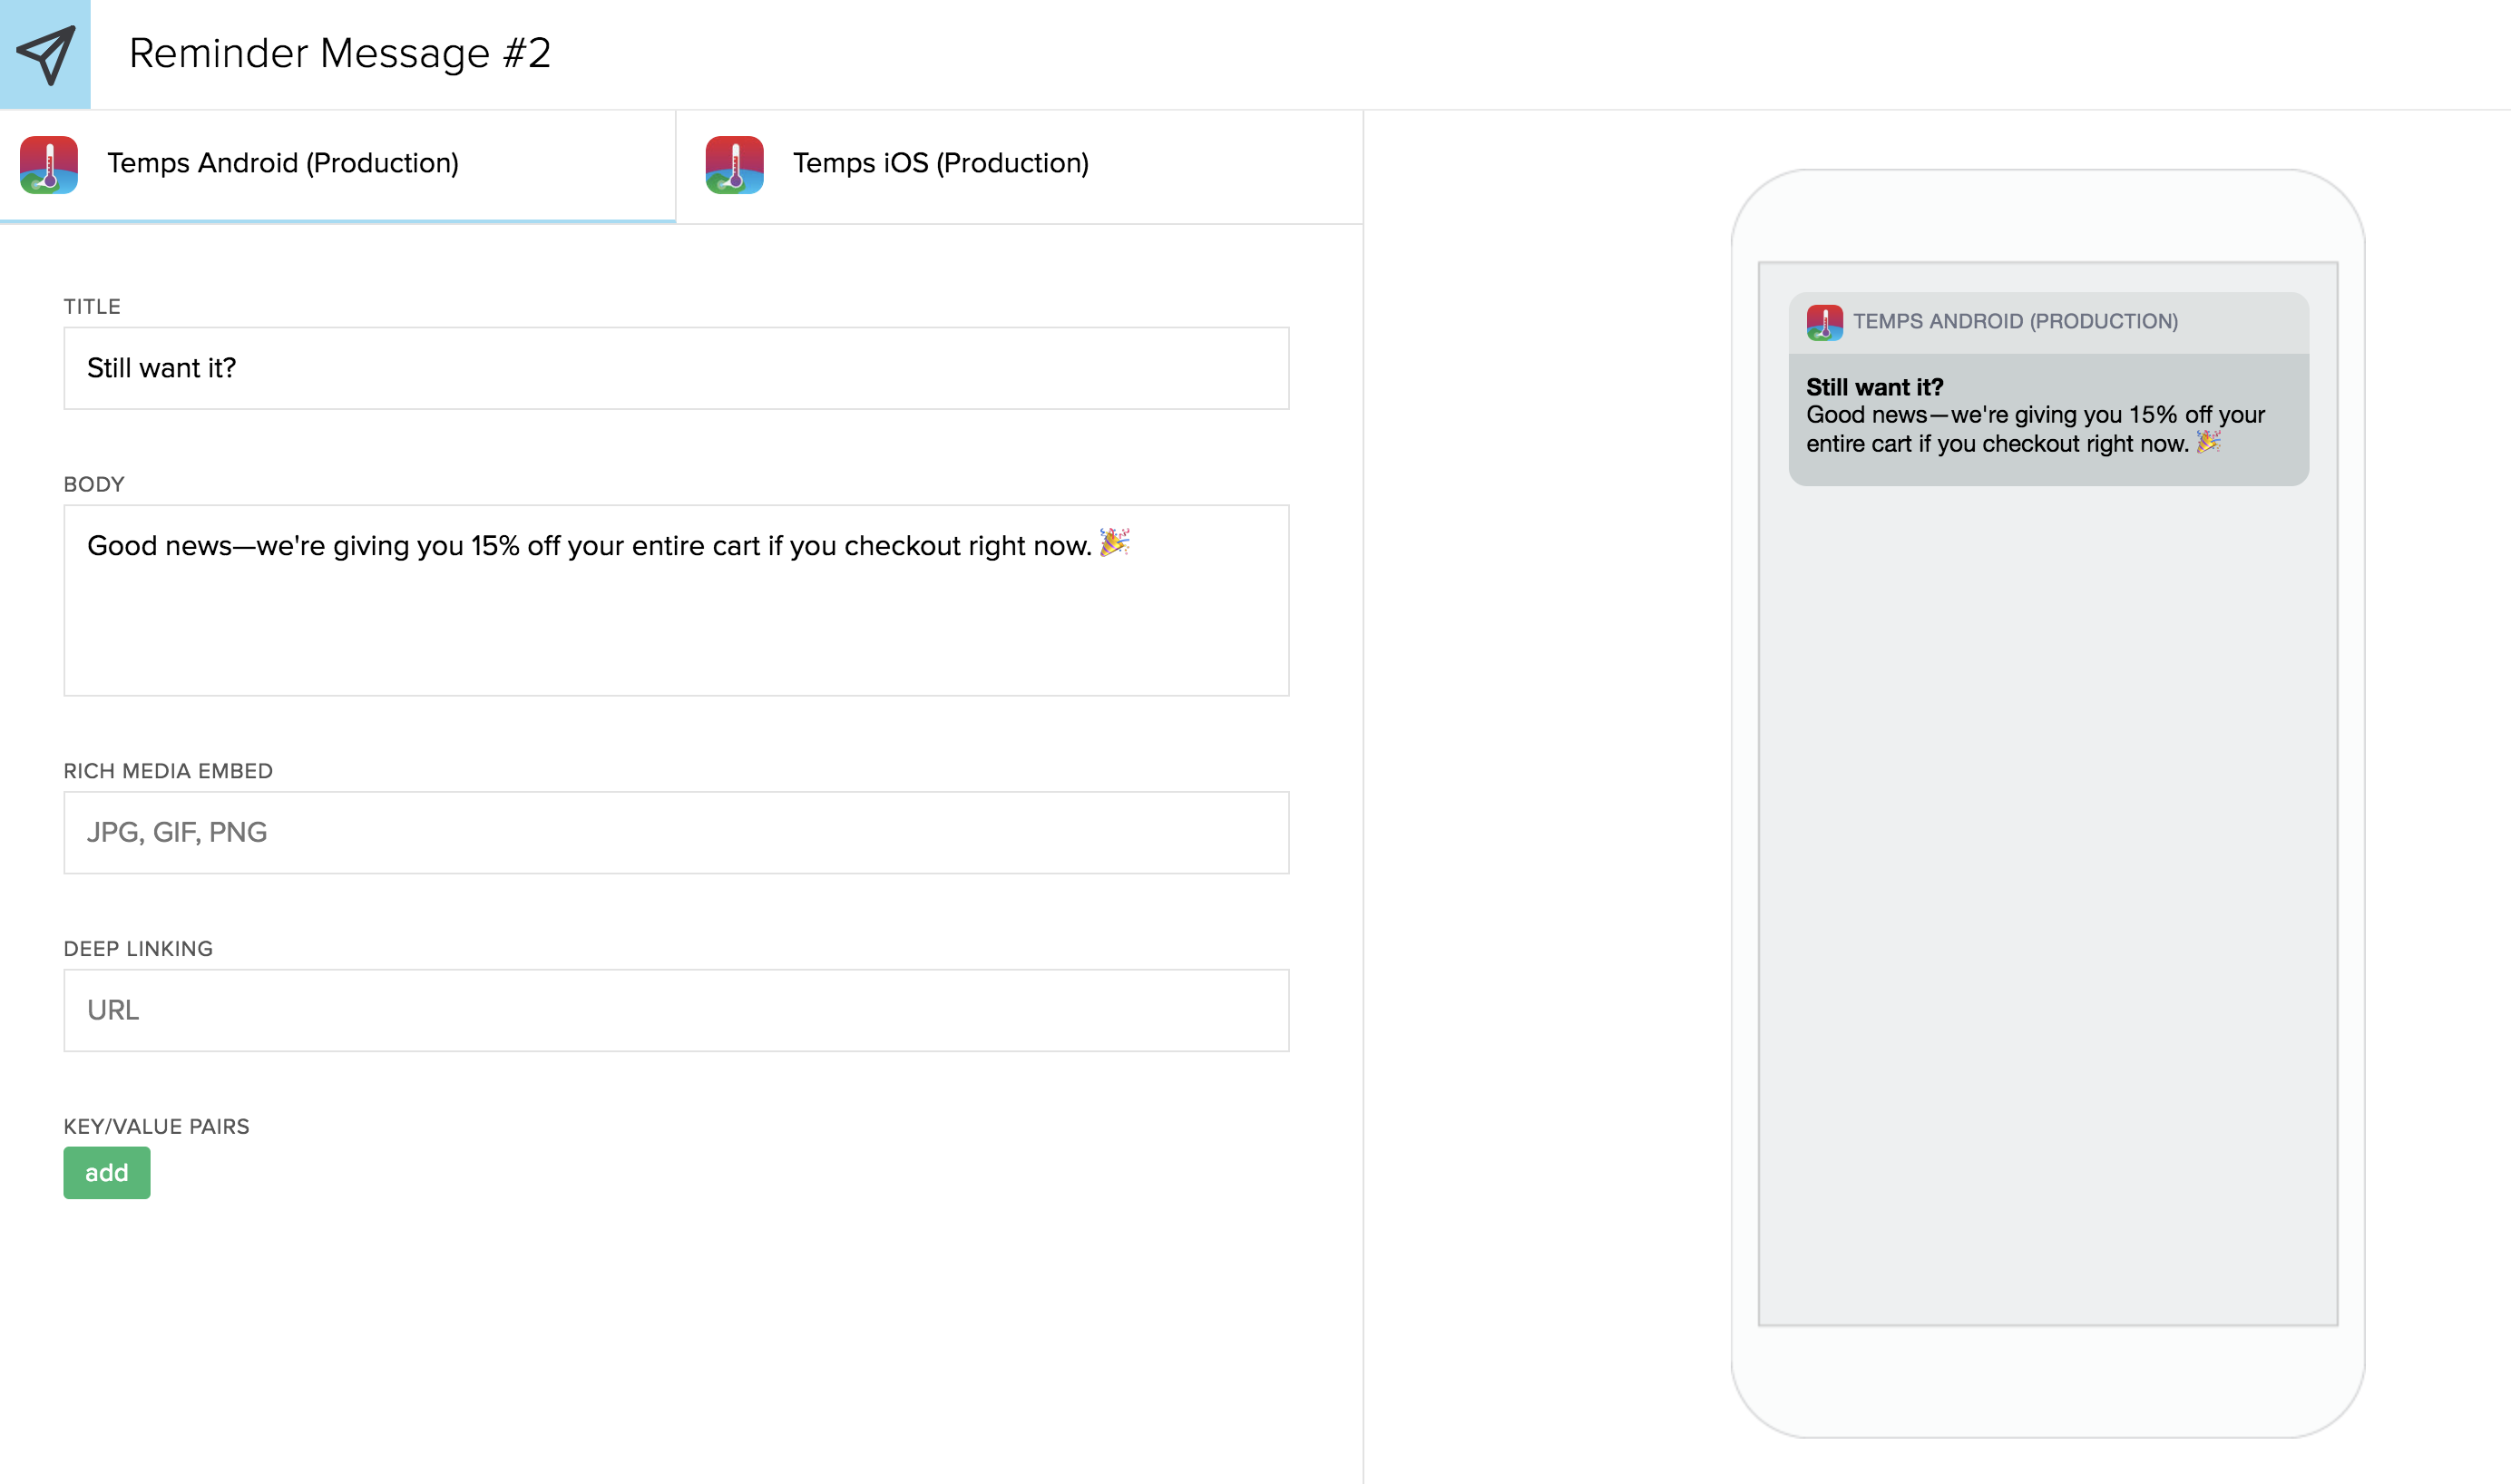
Enter a description name for the message, for example, Reminder Message #2.
-
Build your message.
Title, rich media, deep link, and key/value pairs are all optional additions—so feel free to add those if applicable. Again, like when we added the first message, only the title and the body will copy across all of your apps. Make sure if you add any other elements (images, links), you add those for each app within the corresponding tab.
When you have finished crafting messages for all of your apps, you are ready to add the push message to your workflow.
- When you are done, select Add.
The push message is added to the Did Not path. Now, users who don't check out within 24 hours of the first message will get this reminder message.
Adding a message - Thank you
If you user does check out, why not send them a quick thank you to let them know you appreciate them?
To add a message for users who do check out:
- In the first or second Did path, select the
 button.
 -
Select Send push message.
-
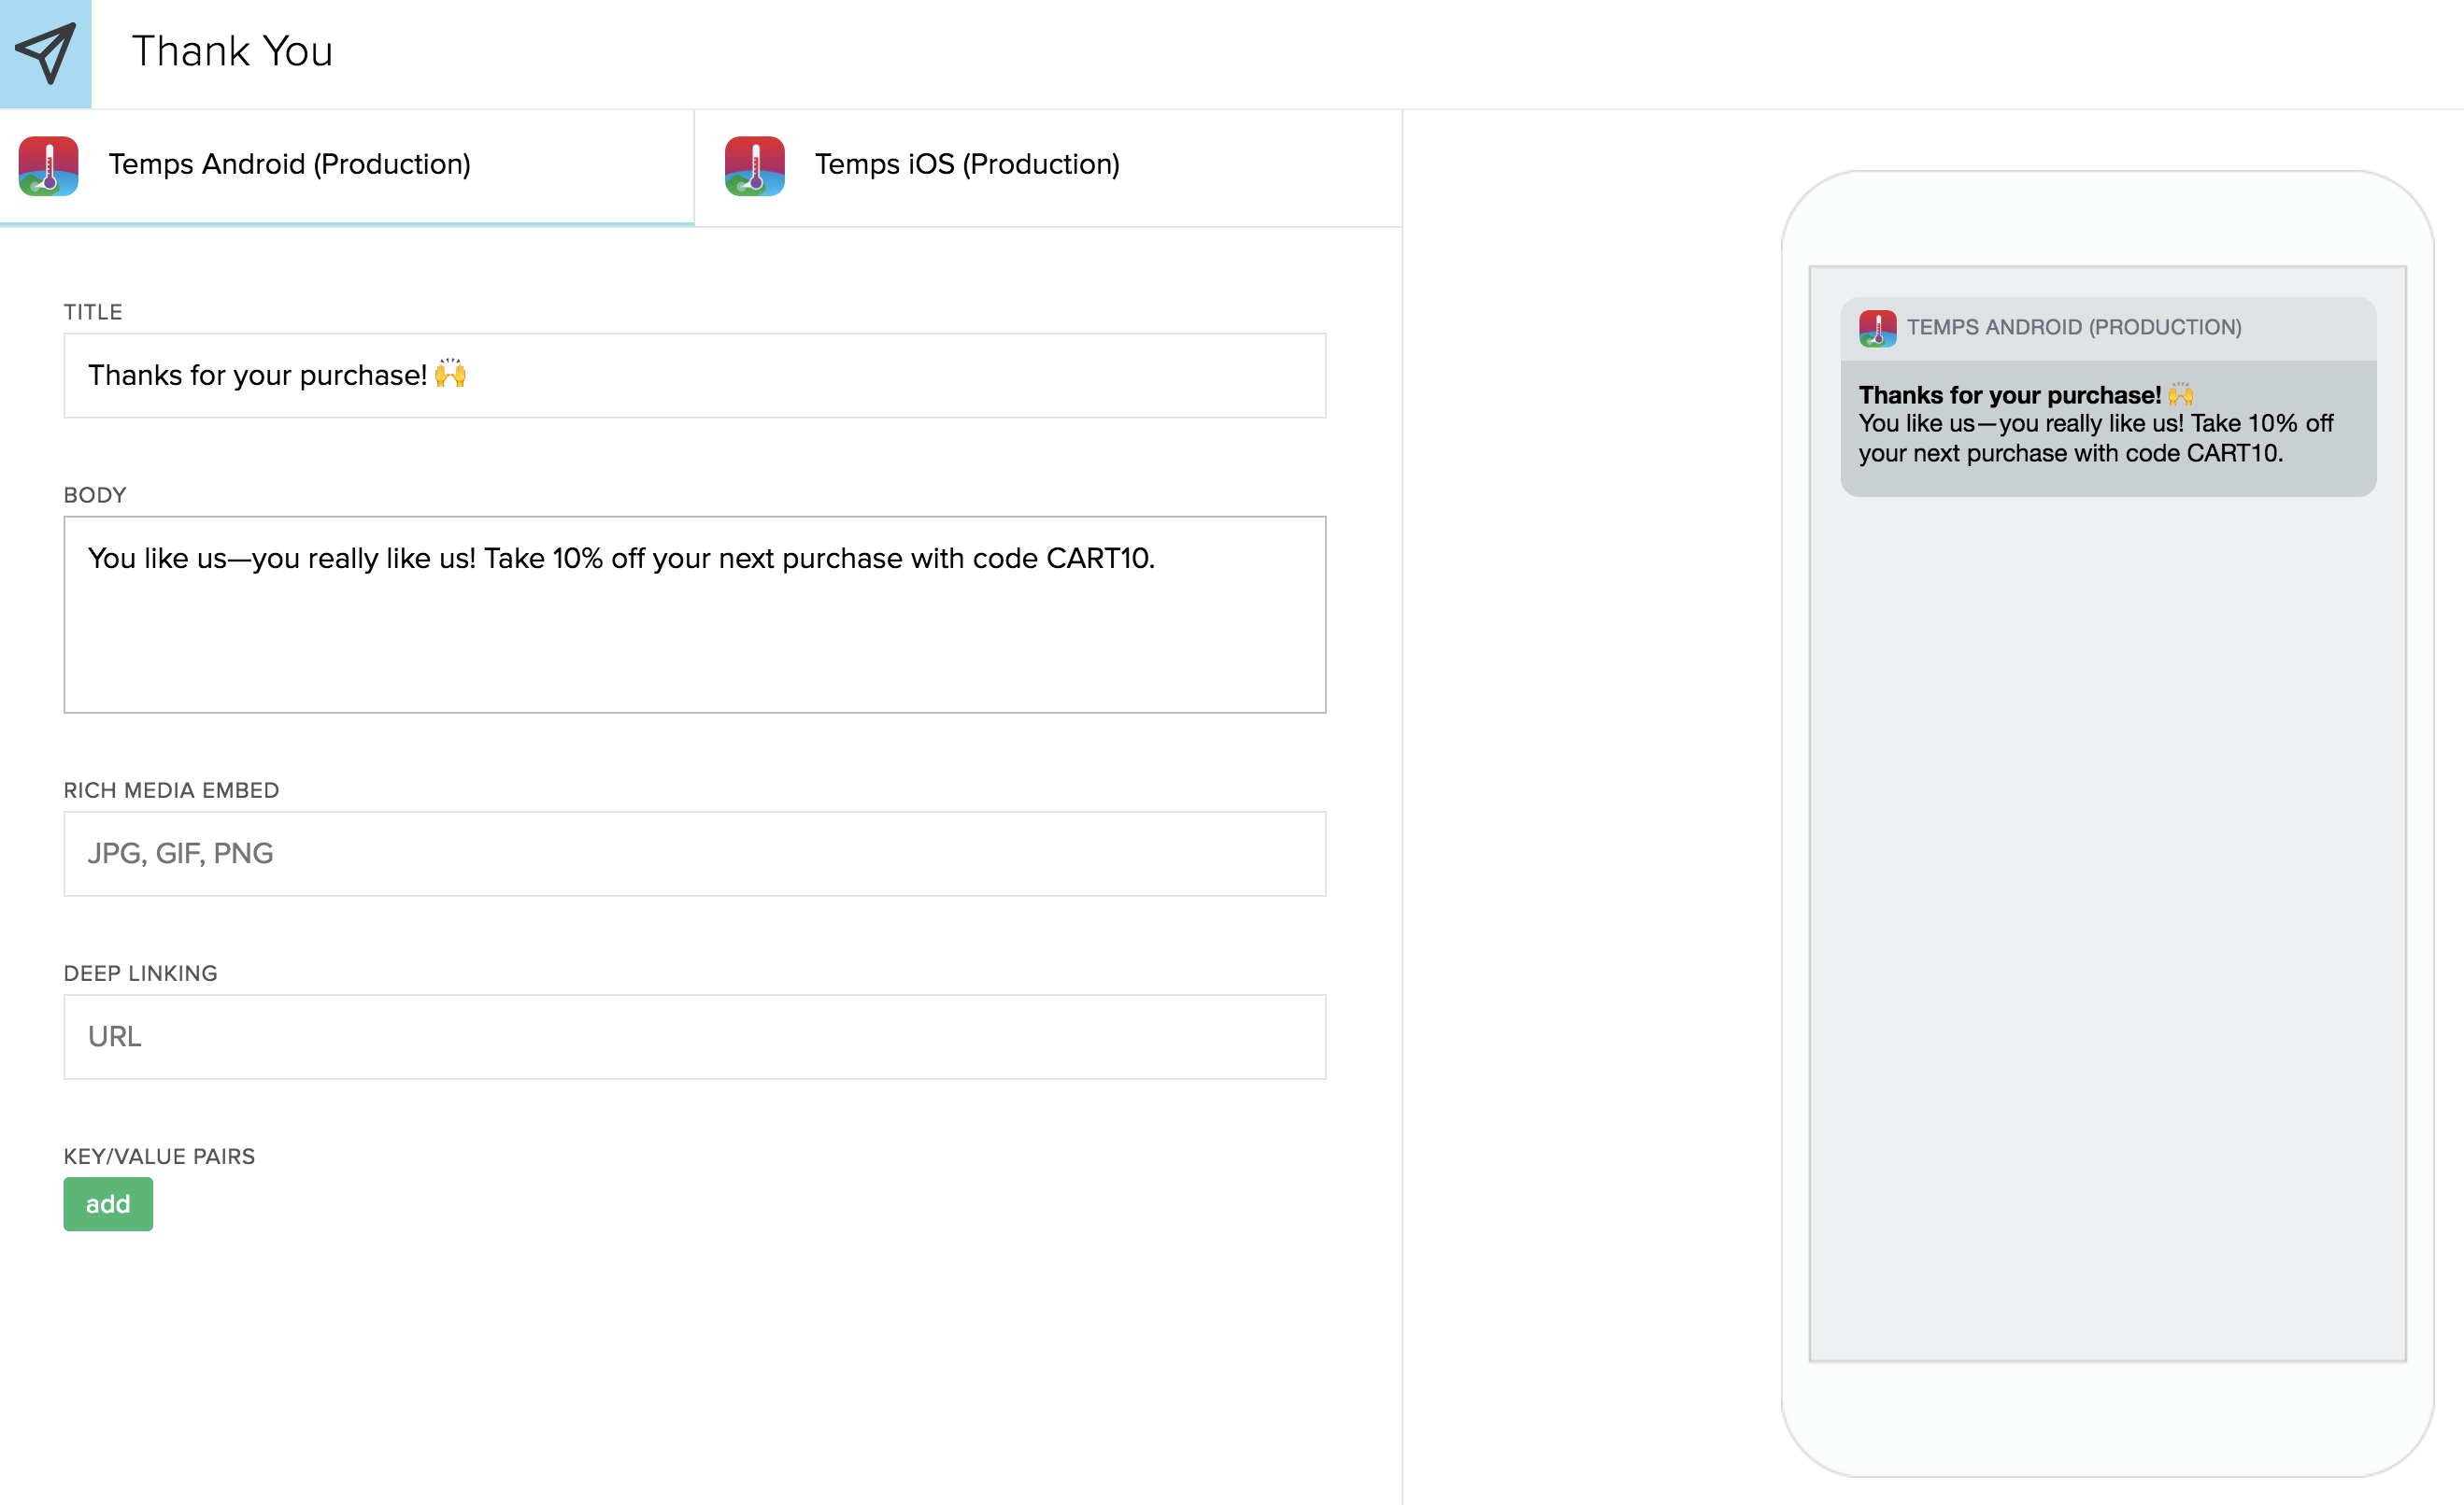
Enter a description name for the message, for example, Thank You.
-
Craft your thank you message, remembering to add deep links, rich media, and key/value pairs individually to each app tab.
When you have finished crafting messages for all of your apps, you are ready to add the push message to your workflow.
-
When you are done, select Add button.
The push message is added to the Did Not path. Now, users will receive a thank you message after they check out.
Reviewing and activating the workflow
After you've finished adding all of the elements to your workflow, you're ready to review and activate it.
-
Make sure everything is accurate in your workflow (no one likes a tpyo).
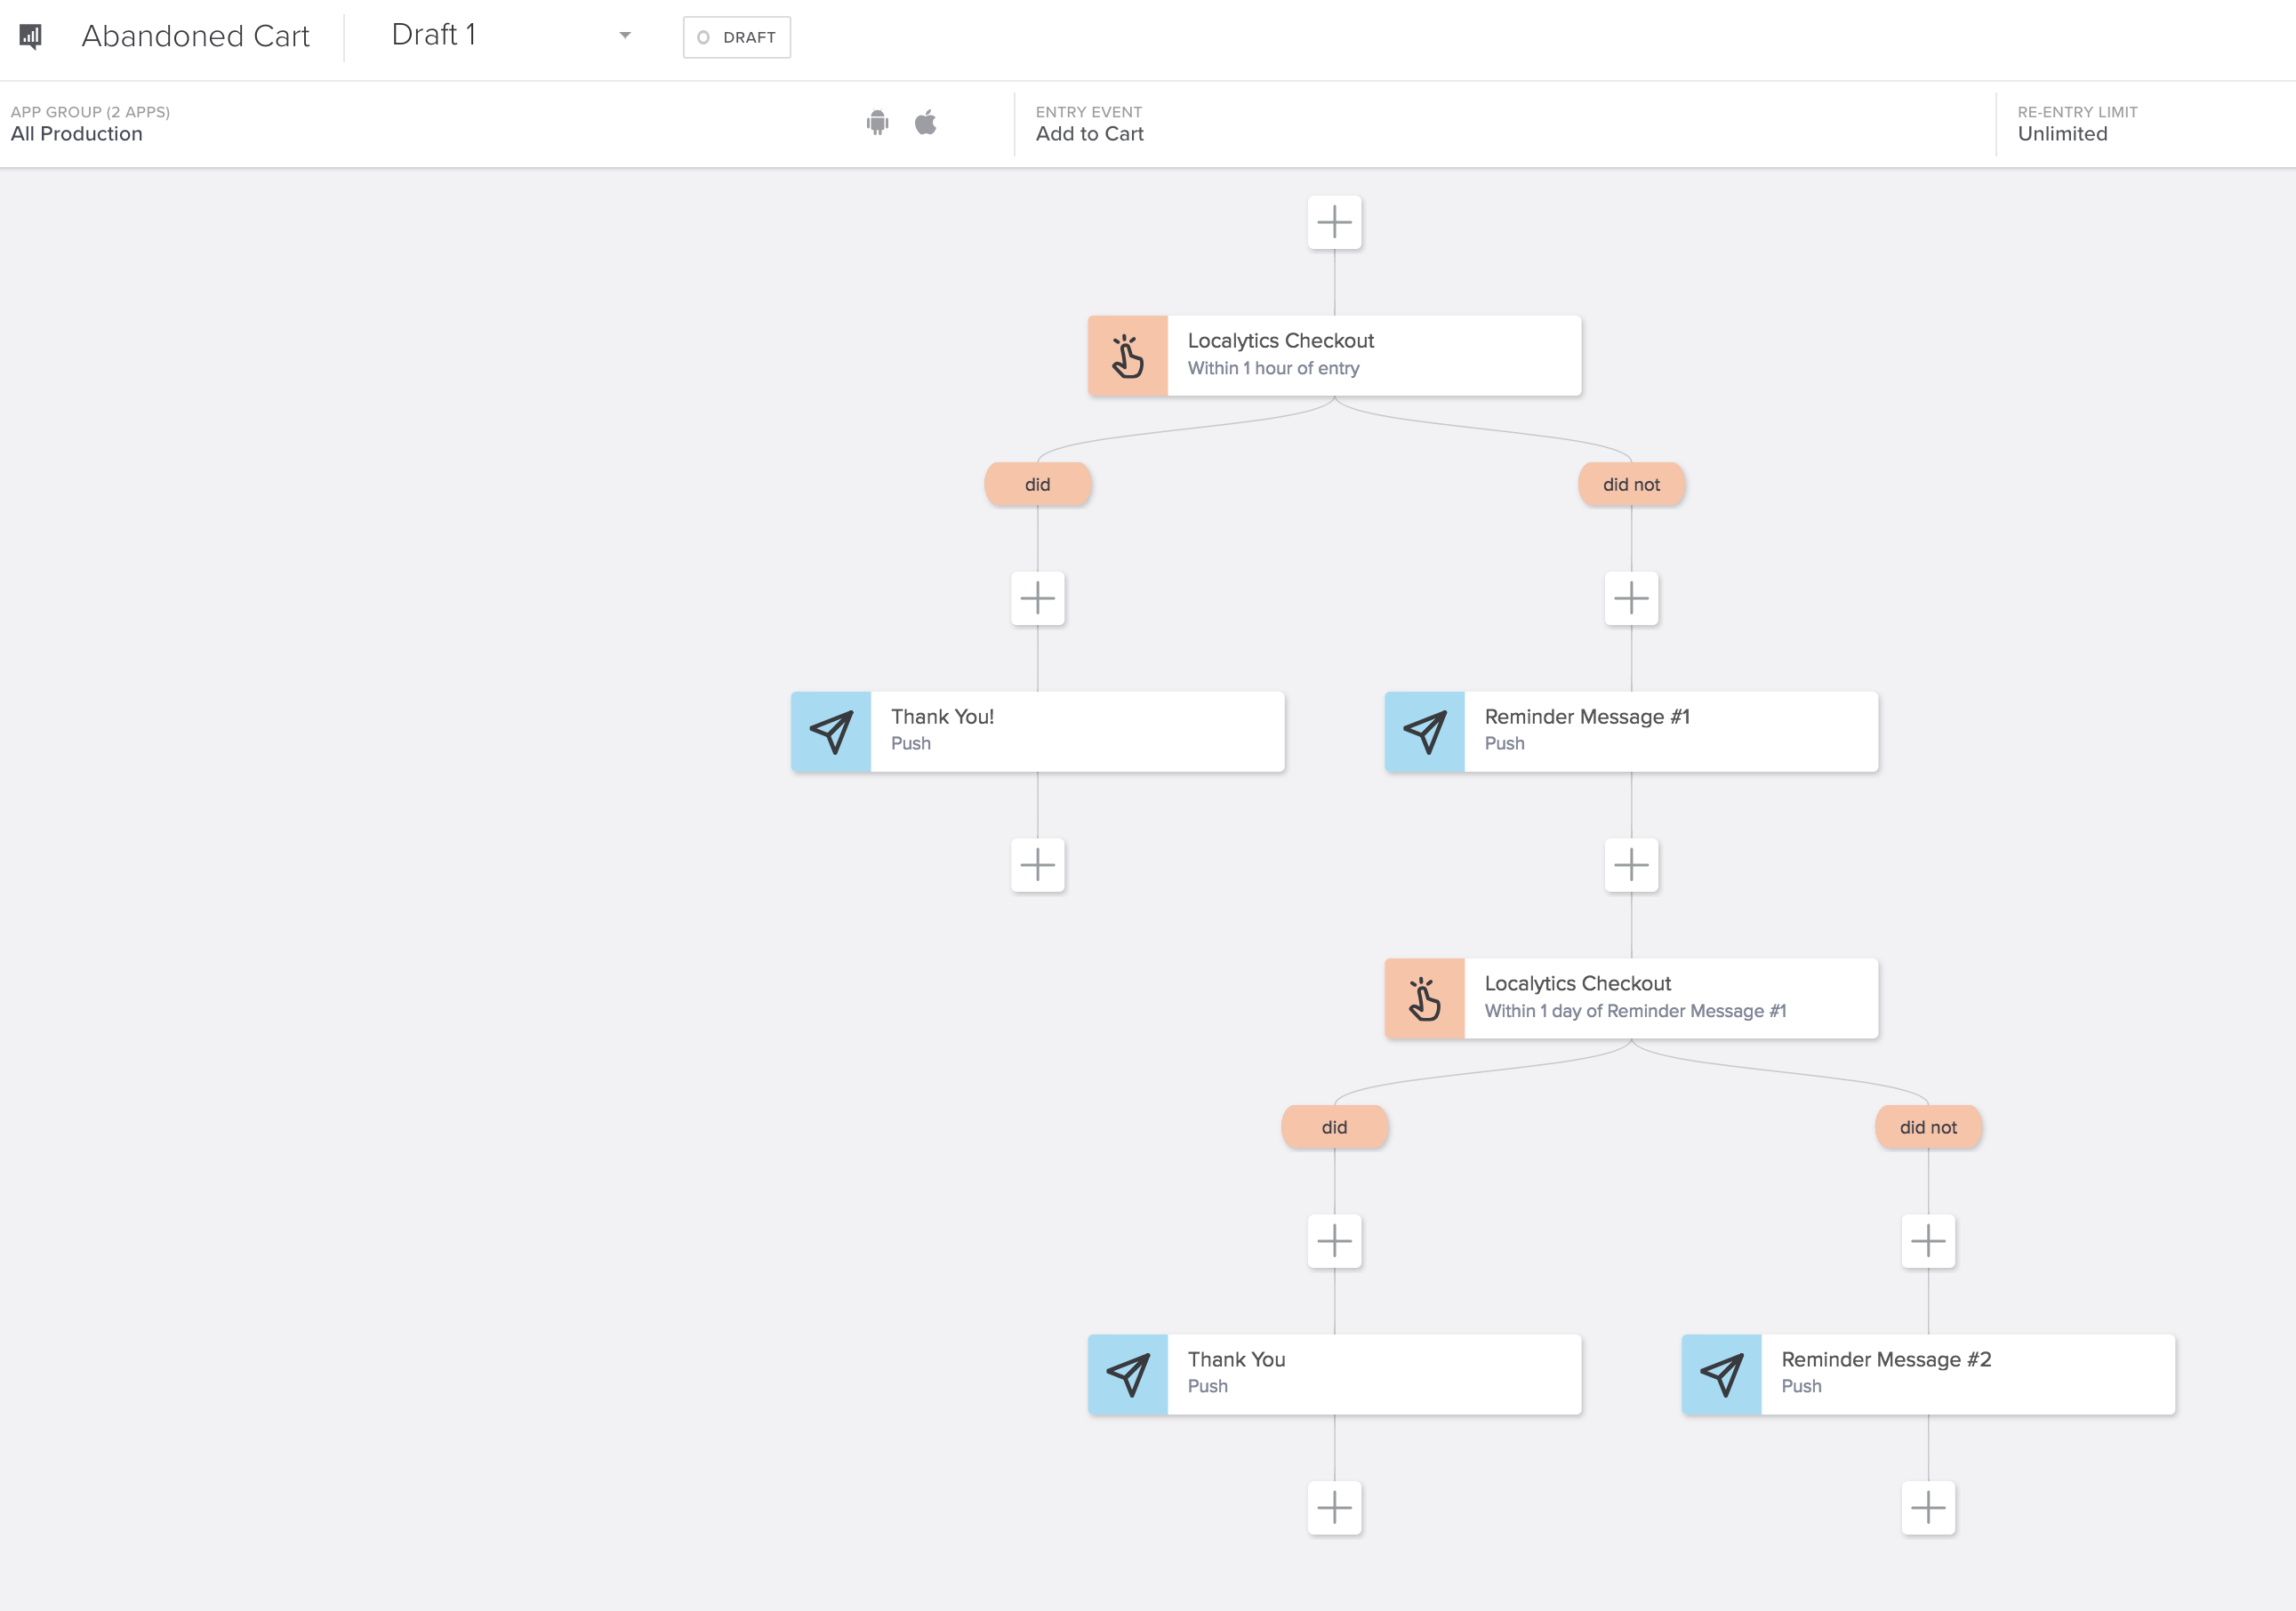
In the upper-left corner, the status is Draft.

-
When you're ready for the workflow to greet your users, select the status button.

-
To confirm that you're ready to launch the workflow, select Yes, I'm sure.
The status at the top of the page is now Active.
And that's it—you're all set! You've built an abandoned cart workflow to help you increase your app's revenue.